Written by Paul Worrall
Screen printing has a reputation for being a studio job, something that needs a darkroom, a big press and a lot of space. It really doesn’t. A steady stream of people search for how to do screen printing at home every month, and the honest answer is that you can get good results on a kitchen table with a handful of supplies and a bit of patience.
I’m Paul Worrall. I spent nearly a decade running digital marketing for ARTdiscount, one of the UK’s largest online art retailers, and I now run Discount Art Supplies — a price comparison platform used by over 28,000 UK artists every week. After 16 years in this industry I know where people overspend when they start a new medium, and screen printing is one where it’s easy to buy the wrong things first. This guide covers what you actually need, what you can leave until later, and how the process works from start to finish.
Quick Picks
- Best for complete beginners: Screen Printing Starter Kit
- Best for fine detail: Photo Emulsion Screen Printing Kit
- Best ink for first prints: Water-Based Screen Printing Ink
- Best for simple stencils: Drawing Fluid and Screen Filler
- Best essential extra: Screen Printing Squeegee
- Best for spare screens: Screen Printing Frame with Mesh
What Is Screen Printing, and Why Does It Work at Home?
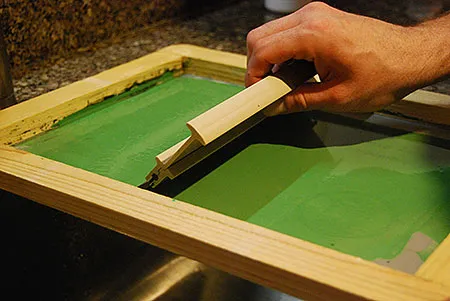
Screen printing, sometimes called silk screen printing, is simple in principle. You stretch a fine mesh over a frame, block out the parts of the mesh you don’t want ink to pass through, then drag ink across the screen with a squeegee so it squeezes through the open areas and onto whatever sits underneath. Lift the screen and your design is there. Andy Warhol made the technique famous as an art form, but the basic idea hasn’t changed.
The reason it works so well at home is that the equipment is modest. Modern water-based inks clean up with water, a small frame fits in a cupboard, and one screen can produce as many identical prints as you have patience for. That repeatability is why it suits anyone who wants a run of cards, posters, tote bags or t-shirts rather than a single piece.
The Screen Printing Supplies You Actually Need
There are only really five things: a screen, a way of making a stencil, ink, a squeegee and something to print onto. Everything else is a convenience. When I was watching what artists bought at ARTdiscount, the pattern with any new medium was the same. People buy a pile of extras in week one and then realise the core kit was what they needed all along. Start with the essentials and add as you find out what you enjoy.
A few small extras do earn their place, though. Masking tape for sealing the edges of the screen is neccessary, and I have a separate guide to the best masking tape for painting if you want to choose the right one. A bit of scrap paper or old fabric to practise on is the other thing worth having ready before you pull a single print.
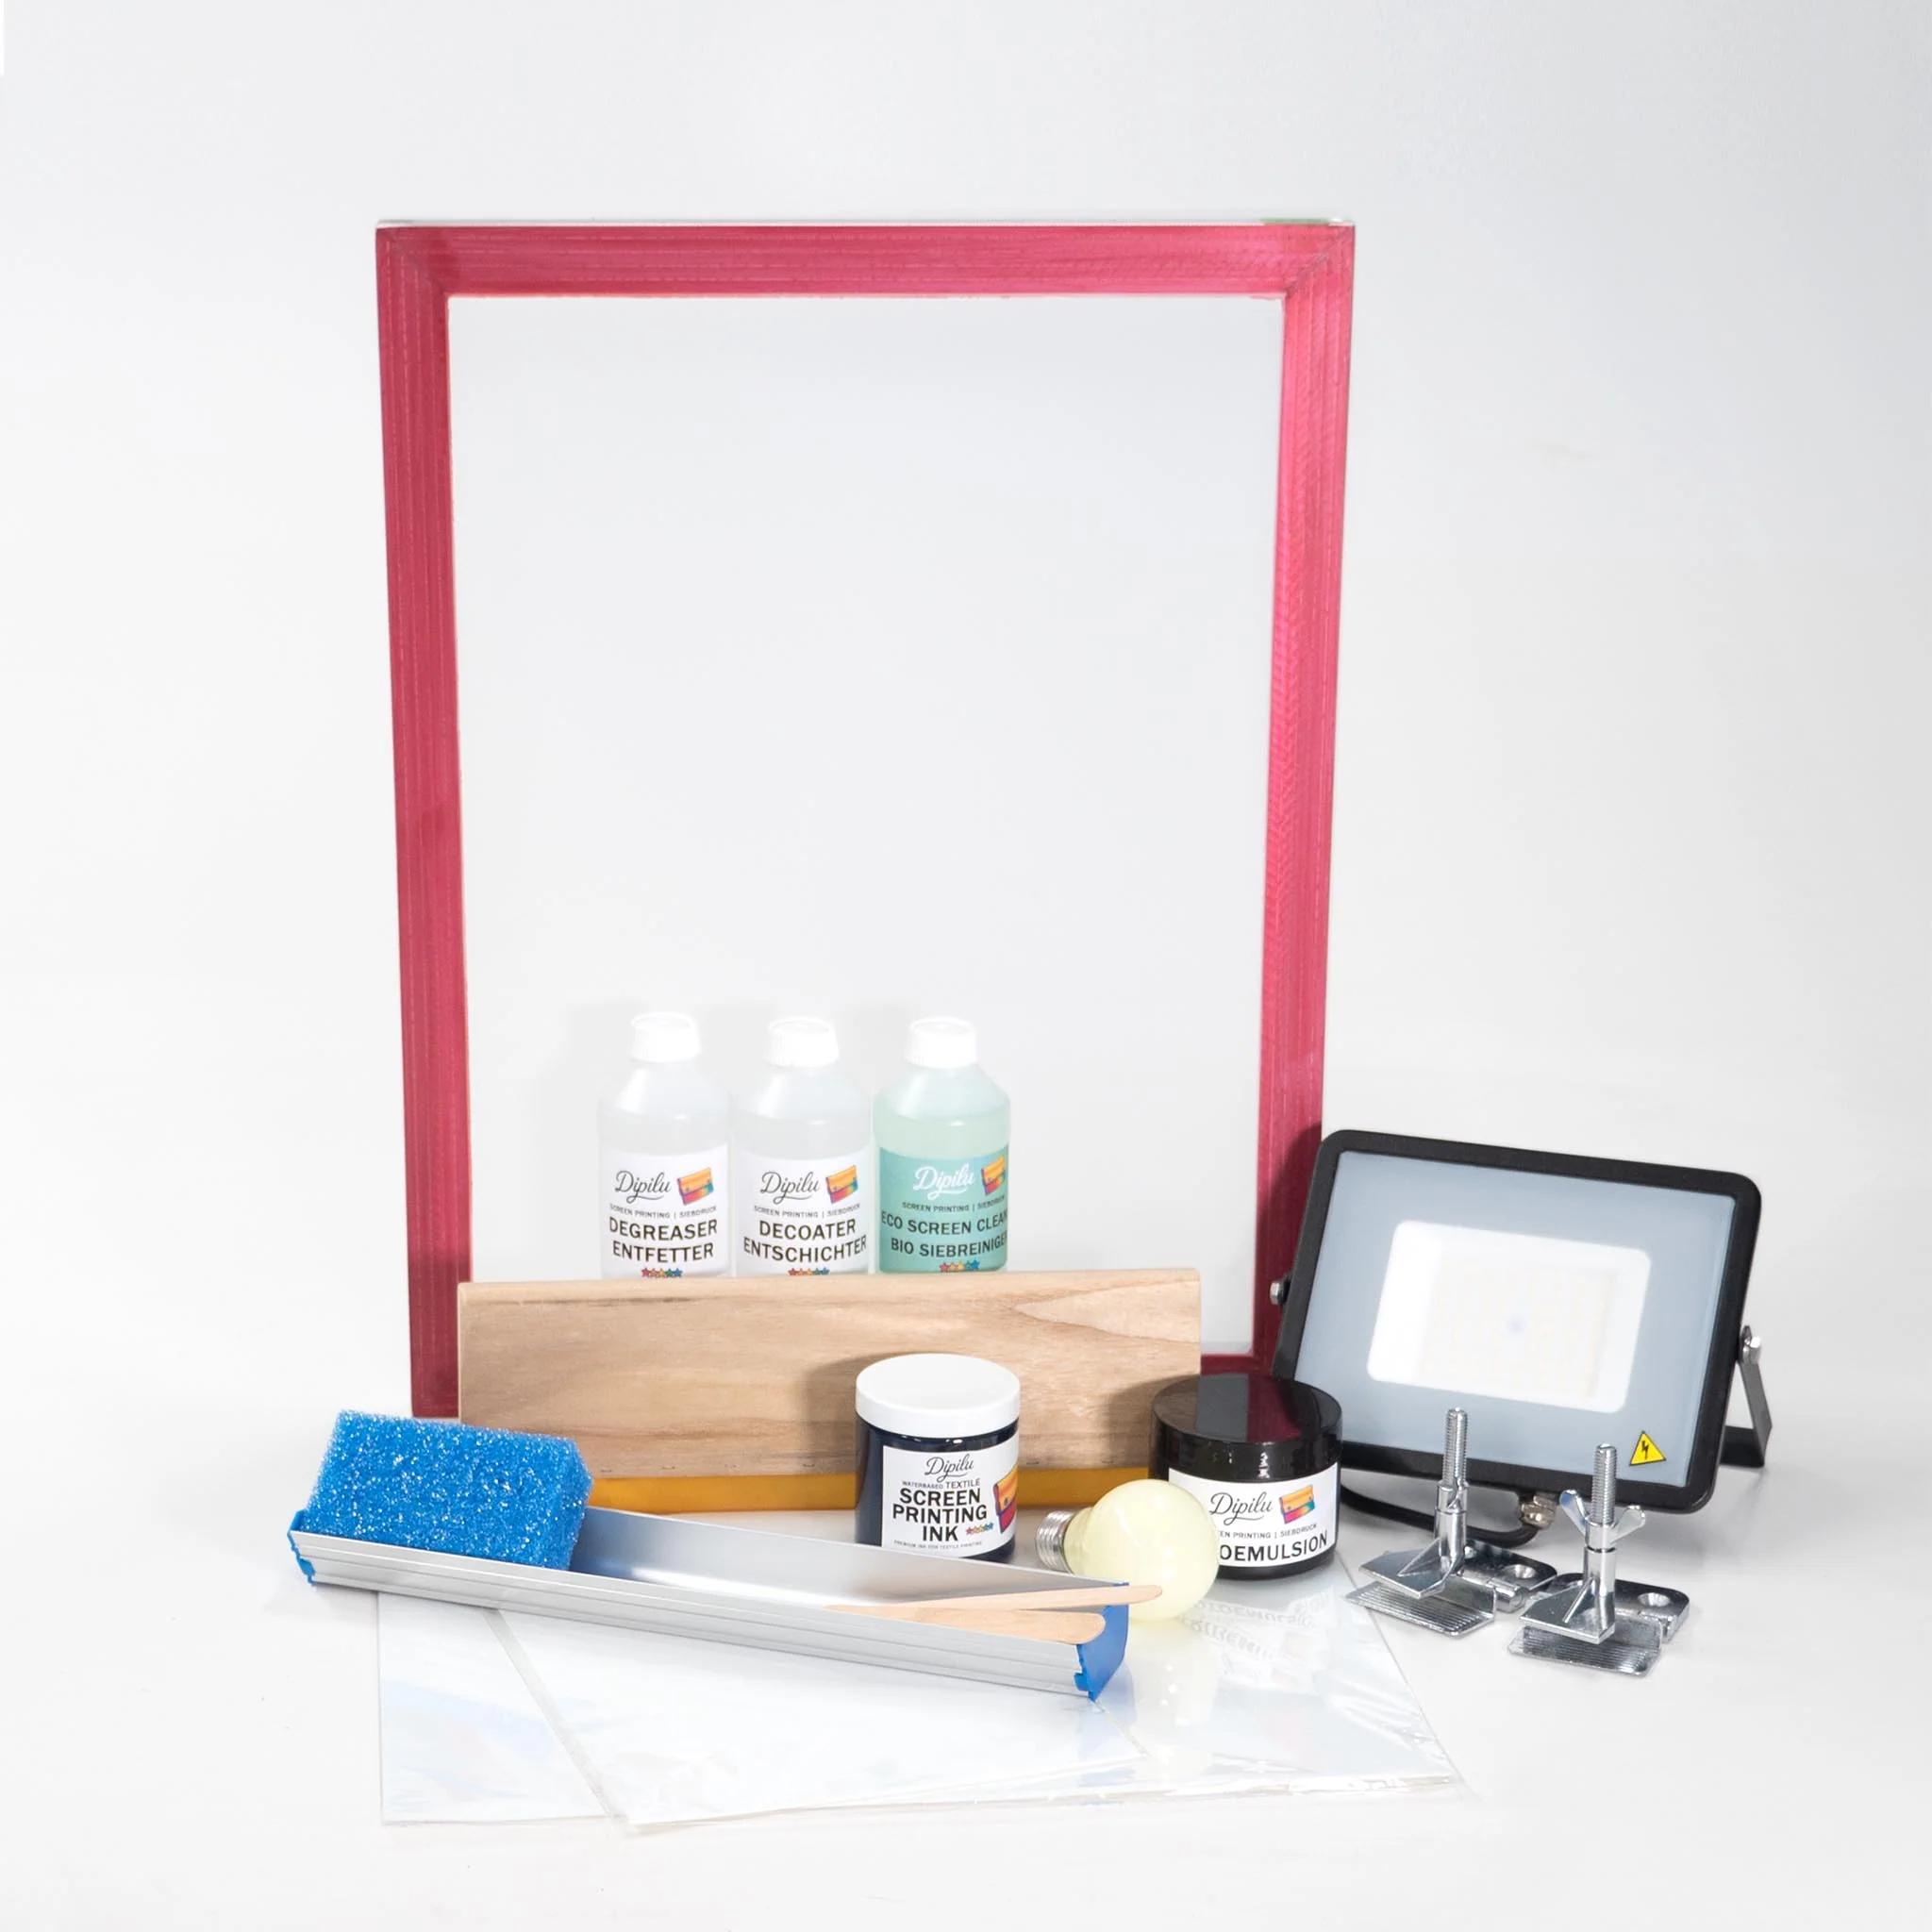
Screen Printing Kits: The Easiest Way to Start
If you want the least fuss, a starter kit is the sensible first buy. Most bundle a pre-stretched screen, a squeegee, a few small pots of ink and sometimes drawing fluid and screen filler or a basic stencil method, all matched so you aren’t guessing what works together. Brands such as Speedball have long been associated with beginner screen printing kits, and there are plenty of other options around.
The trade-off is that kits are built to a price. The squeegee is usually small, the ink pots are modest and the screen is a fixed size, so you’ll outgrow it if you take to the hobby. That’s fine. For a first project it takes the guesswork out, and you can replace the weak parts one at a time as you learn what you want. Prices for kits vary quite a lot between retailers, which is exactly where a quick comparison pays off.
Shop screen printing kits on Amazon Compare screen printing kit prices
Screens, Frames and Mesh Count
The screen is a frame with a mesh stretched tightly across it, and the mesh count tells you how fine the weave is. A lower number means a coarser mesh with bigger holes, which lets more ink through. That suits bold designs and printing on fabric. A higher number is finer and holds more detail, which suits paper and delicate artwork.
As a rough guide, a mesh in the region of 110 is a good choice for t-shirts and tote bags, around 156 is a sensible all-rounder if you only want to buy one screen, and something like 230 is better for fine lines on paper. If you’re unsure, the middle option is the safest first screen. Frames come in wood or aluminium, and a frame slightly bigger than your design gives you room to move the ink without it spilling over the edges.
Shop screen printing frames on Amazon Compare frame and mesh prices
Water Based Screen Printing Ink
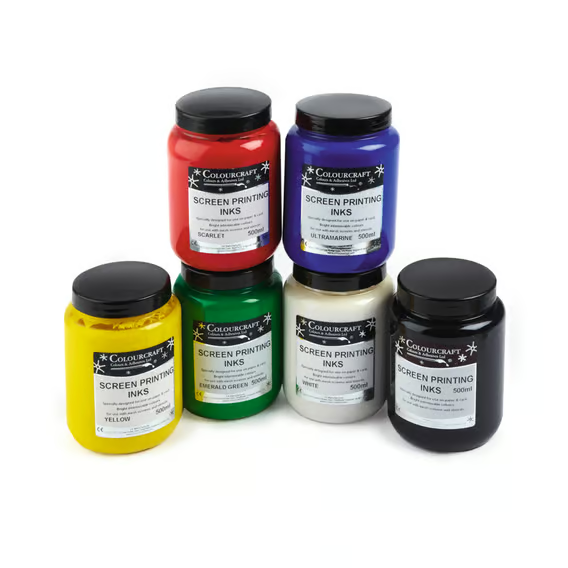
For home use, water-based ink is the one I’d recommend. It cleans up with water, has little smell and is far more forgiving than solvent-based ink, which needs good ventilation and proper cleaning products. Make sure the ink matches what you’re printing on. Fabric inks are made to stay flexible and wash-resistant on t-shirts and bags, while acrylic or paper-specific inks are better for posters and cards.
Most fabric inks need heat setting once dry, usually with an iron, so read the instructions on the pot rather than assuming. That one step is what makes a print survive the washing machine. Whichever ink you choose, it dries in the mesh quite quickly, so work steadily and don’t leave a loaded screen sitting around.
Shop water-based screen printing ink on Amazon Compare screen printing ink prices
The Squeegee
A decent squeegee makes more difference than most beginners expect. Its job is to push an even layer of ink through the mesh in one confident pull, and a bent, nicked or too-small blade gives you patchy prints. Pick one slightly narrower than the inside of your frame, with a straight, firm edge, and keep it clean between sessions so dried ink doesn’t build up on the blade.
Shop squeegees on Amazon Compare squeegee prices
Stencil Methods: Paper, Drawing Fluid or Photo Emulsion
This is the part that decides how detailed your prints can be, and there are three realistic options at home. The simplest is a cut paper stencil taped to the underside of the screen or placed beneath it. It costs almost nothing, it’s good for bold shapes, and it’s a fine way to learn how ink behaves.
The next step up is drawing fluid and screen filler. You paint your design onto the screen with the drawing fluid, let it dry, cover the whole screen with filler, then wash out the drawing fluid so the painted areas become open mesh. It gives hand-drawn results with a lovely loose quality, and it needs no light source at all.
For fine detail and photographic images, photo emulsion screen printing is the method most people end up using. You coat the screen with light-sensitive emulsion, lay a printed transparency of your design on top, expose it to a bright light, then rinse out the unexposed areas. It takes more care, since the emulsion needs to be handled in dim light and the exposure time matters, but it’s what gives you crisp, repeatable results. I’d start with paper or drawing fluid and move on to emulsion once you’re hooked.
Shop photo emulsion kits on Amazon Compare photo emulsion prices
Shop drawing fluid and screen filler on Amazon Compare drawing fluid prices
The Screen Printing Process, Step by Step
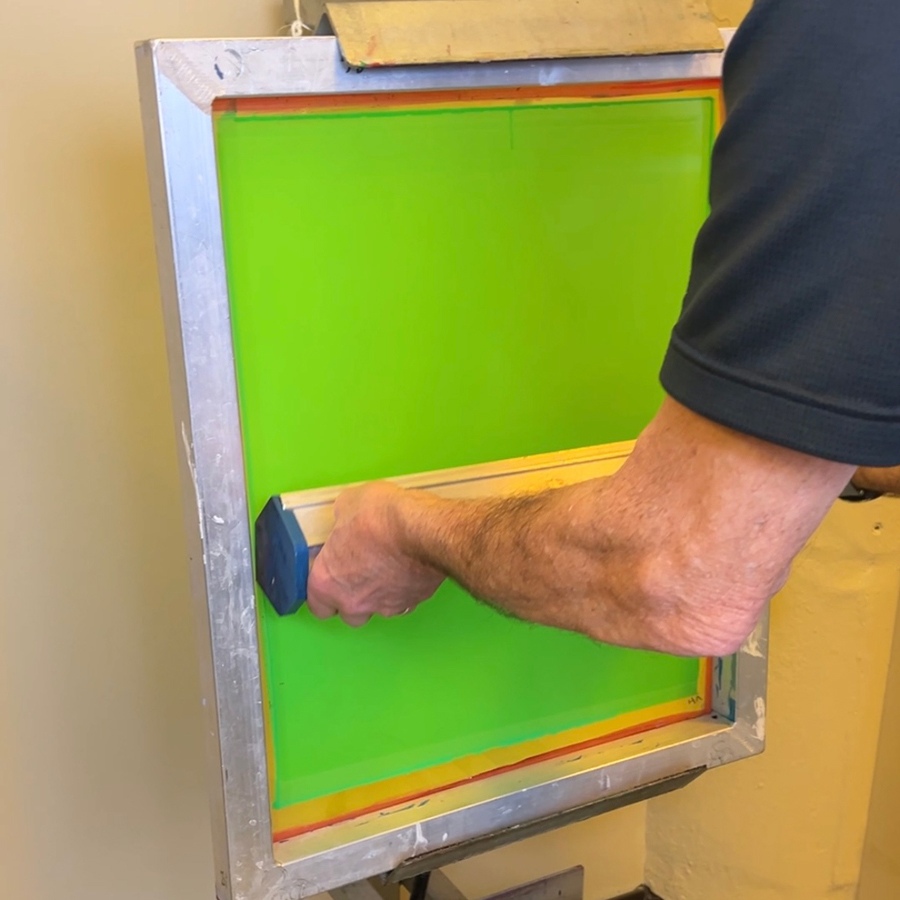
Once your stencil is on the screen, the printing itself is quick. Lay your paper or fabric flat on a clean, firm surface, and put the screen down over it with a little gap if your frame allows. Spoon a line of ink along the top edge of the design, a bit beyond the open area. Then, with the squeegee held at a slight angle, pull the ink firmly and evenly across the screen towards you in one stroke.
Lift the screen straight up rather than dragging it, and your first print is done. If the ink hasn’t gone through evenly, a second light pass often fixes it, though it’s better to adjust your pressure than to rely on that. Between prints, leave the screen resting somewhere flat so ink doesn’t dry in the mesh. When you finish, wash the screen straight away with water, because dried ink is far harder to shift than wet.
Mistakes occured to me early on with other mediums, and screen printing is no different. Your first few prints will be uneven, and that’s completely normal. Treat the first dozen as practice on scrap paper and you’ll save your good materials for when your technique has settled.
Common Beginner Mistakes
Too much ink is the biggest one, and it leads to blurry edges and ink bleeding under the stencil. Use less than you think you need. The second is uneven pressure, so aim for the same firm pull every time. The third is leaving a screen to dry with ink in it, which can ruin the mesh. Finally, buying everything at once is an embarassing way to waste money on kit you won’t use. Get the essentials, make a few prints and then decide what to add.
How to Get the Best Price on Screen Printing Supplies
Screen printing supplies are spread across lots of different retailers, and the same kit, ink or squeegee can cost noticeably different amounts depending on where you buy it. At Discount Art Supplies we compare prices across Cass Art, Jacksons, Amazon, Crafty Arts and others, so a quick search before you buy shows you the cheapest current option. Start with our screen printing price comparison and check the deals pages before you pay full price.
If you like trying new mediums, you might also enjoy our guides to Indian ink, Brusho crystal colour and acrylic painting ideas for beginners.
Frequently Asked Questions
Can you screen print at home without a kit?
Yes. A frame with mesh, a squeegee, some ink and a stencil is all it takes. You can make a simple stencil from paper or use drawing fluid and screen filler, so you do not need a press or a darkroom to start.
What is the best ink for screen printing at home?
Water-based inks are the usual choice for beginners because they clean up with water and have little smell. Choose a fabric ink for t-shirts and bags, and an acrylic or paper ink for prints on paper.
What mesh count should I use for screen printing?
A lower mesh count, around 110, lets more ink through and suits bold designs on fabric. Around 156 is a good all-round choice, and a higher count such as 230 suits fine detail on paper.
How do you make a screen printing stencil at home?
The easiest options are a cut paper stencil, or painting your design onto the screen with drawing fluid and then covering the rest with screen filler. For finer detail you can use photo emulsion with a printed transparency and a bright light source.
Is screen printing at home expensive?
A starter kit costs less than many people expect, but the cost grows once you add extra screens, ink colours and emulsion. Comparing prices across retailers before you buy makes a real difference.
Join the Community
If you try screen printing, I’d love to see what you make. Come and share your prints in our Facebook group, and if you’d like the best art supply deals sent straight to your inbox once a week, join the mailing list here.