
Written by Paul Worrall
This one comes up a lot, usually in two very different moods. Either someone’s finished a lovely piece on a wooden panel or a set of coasters and wants to know how to protect it properly, or someone’s made a mistake — paint where it shouldn’t be — and wants to know if it’s fixable. I can help with both, seperately, because the process for each is genuinely quite different.
I’m Paul Worrall. I spent nearly a decade running digital marketing for ARTdiscount, one of the UK’s larger online art retailers, and I now run Discount Art Supplies — a price comparison platform used by over 41,000 UK artists every week. Acrylic on wood is one of the most common surfaces our community asks about, and it’s also one of the easiest to get slightly wrong if you rush the sealing step. Here’s how to do it properly, and how to recieve a second chance if it’s already gone sideways.
Quick Picks
- Best sealer for a durable, glossy finish: Liquitex Professional Gloss Varnish
- Best sealer for a low-sheen finish: Liquitex Professional Matte Varnish
- Best for removing dried acrylic paint: Isopropyl Rubbing Alcohol (70-90%)
- Best for finishing/removal sanding: 220-Grit Fine Sandpaper
Why sealing matters (and why timing is the part people get wrong)
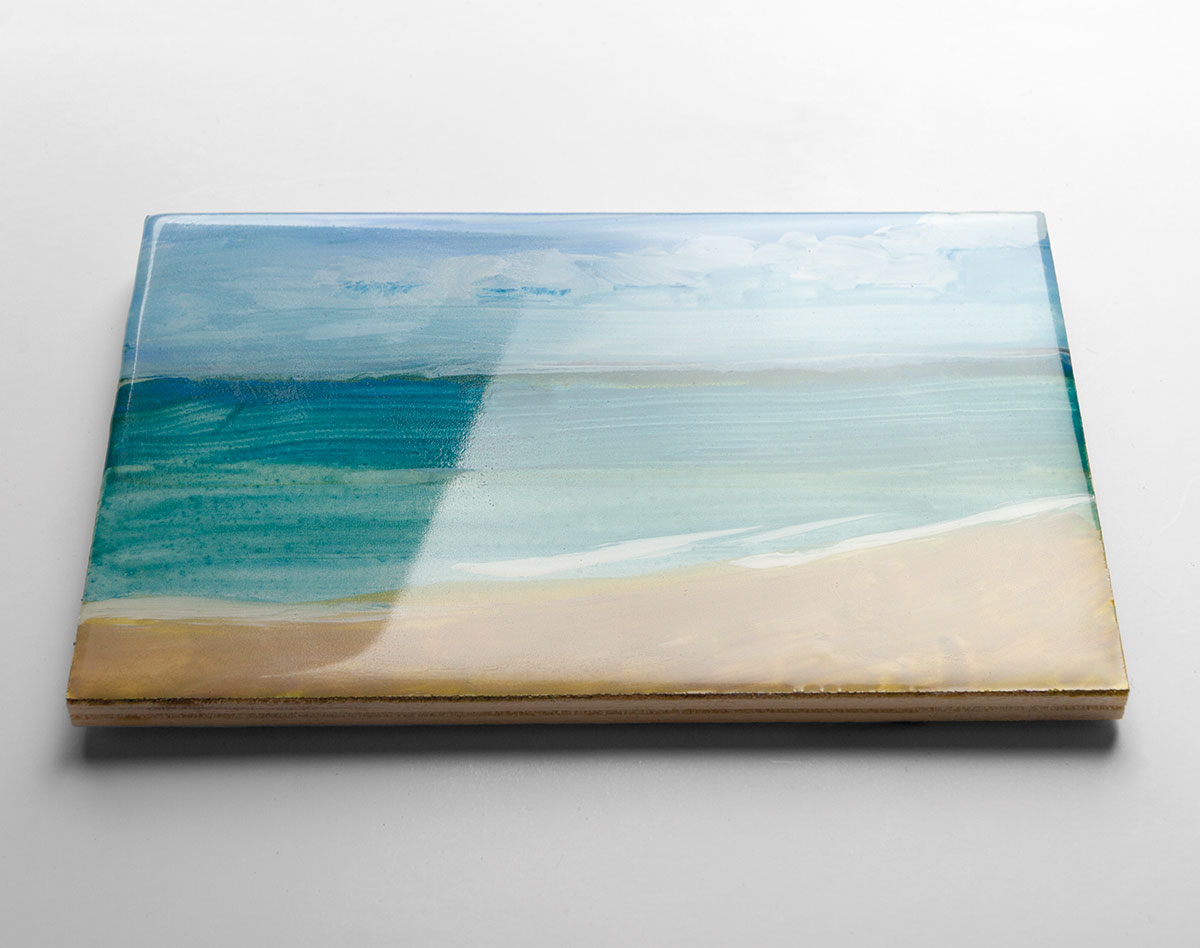
Sealing protects finished acrylic work from dust, moisture, scratches and UV fading, and on wood specifically it also stops the piece looking patchy where the grain’s absorbed paint unevenly. The bit almost everyone rushes is the drying time. Acrylic paint feels dry within half an hour, but it isn’t actually cured for 24 to 72 hours depending on thickness and humidity. Seal over paint that hasn’t fully cured and you trap moisture underneath — the result is usually bubbling, a cloudy finish, or the sealant peeling away months later. It’s an imposible fix once it’s happened, so it’s worth just waiting the extra day.
How to seal acrylic paint on wood, step by step
Once the paint’s properly cured, lightly sand the surface with 220-grit sandpaper — not to remove any paint, just to knock down brushstroke ridges and raised grain so the sealant bonds evenly. Wipe away every trace of dust with a clean, dry or slightly damp cloth; any dust left behind gets sealed in permanently and shows as a small bump in the finish.
From there it’s a straightforward choice of sealant. Acrylic varnish, like Liquitex’s professional range, is the most traditional option and comes in gloss, satin or matte finishes — it’s water-based, non-yellowing, and gives proper UV protection if the piece is going anywhere near a window. Polyacrylic sealer is a solid, more budget-friendly alternative with a similar water-based, low-odour finish. Furniture wax is the gentlest option, applied by hand with a cloth, but it offers noticeably less durability than either varnish or polyacrylic.
Apply thin, even coats — never thick ones, and never shake the container beforehand as it introduces air bubbles that show up as tiny craters once dry. Two to three coats is generally enough, with a few hours’ drying time between each, and following the grain direction with your brush strokes helps avoid streaking.
The genuine trade-off here: varnish gives the strongest, most UV-resistant finish but most acrylic varnishes are non-removable once dry, so if you get the sheen wrong you’re stuck with it. Furniture wax is far more forgiving to redo but simply won’t protect a piece anywhere near as well long term.
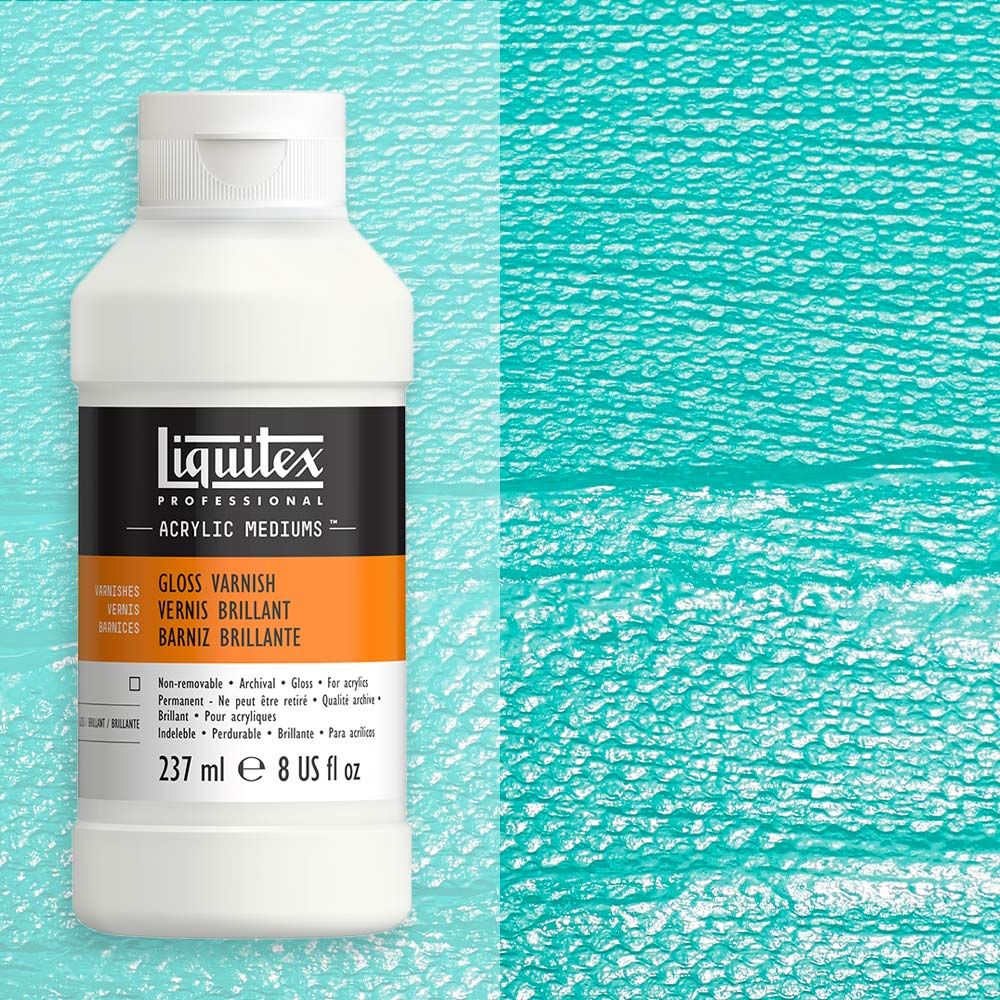
🛒 Buy Liquitex Gloss Varnish on Amazon
What to do if it’s already gone wrong: removing acrylic paint from wood
If the paint’s still wet, this is the easy version. Dab — don’t rub — with a cloth dampened in warm, soapy water, working from the outer edge of the mark inward so you’re not spreading it further. Dry the area properly afterwards so the wood itself doesn’t take on moisture damage.
If the paint’s already dried, isopropyl rubbing alcohol (70-90%) is genuinely the most reliable household fix. Dampen a cloth or cotton ball, press it against the paint and hold for thirty to sixty seconds to let it soften, then rub in small circular motions. A plastic scraper — never metal, it’ll gouge the wood — helps lift any loosened chunks. For anything really stubborn, a light hand-sand with 220-grit sandpaper, working with the grain rather than against it, will finish the job.
One thing worth being absolutley clear on: always test whatever method you’re using on a hidden or inconspicuous patch first, especially on finished or varnished wood. If the test area bubbles, discolours or goes tacky, that method’s too harsh for your specific finish and it’s worth trying something gentler instead.
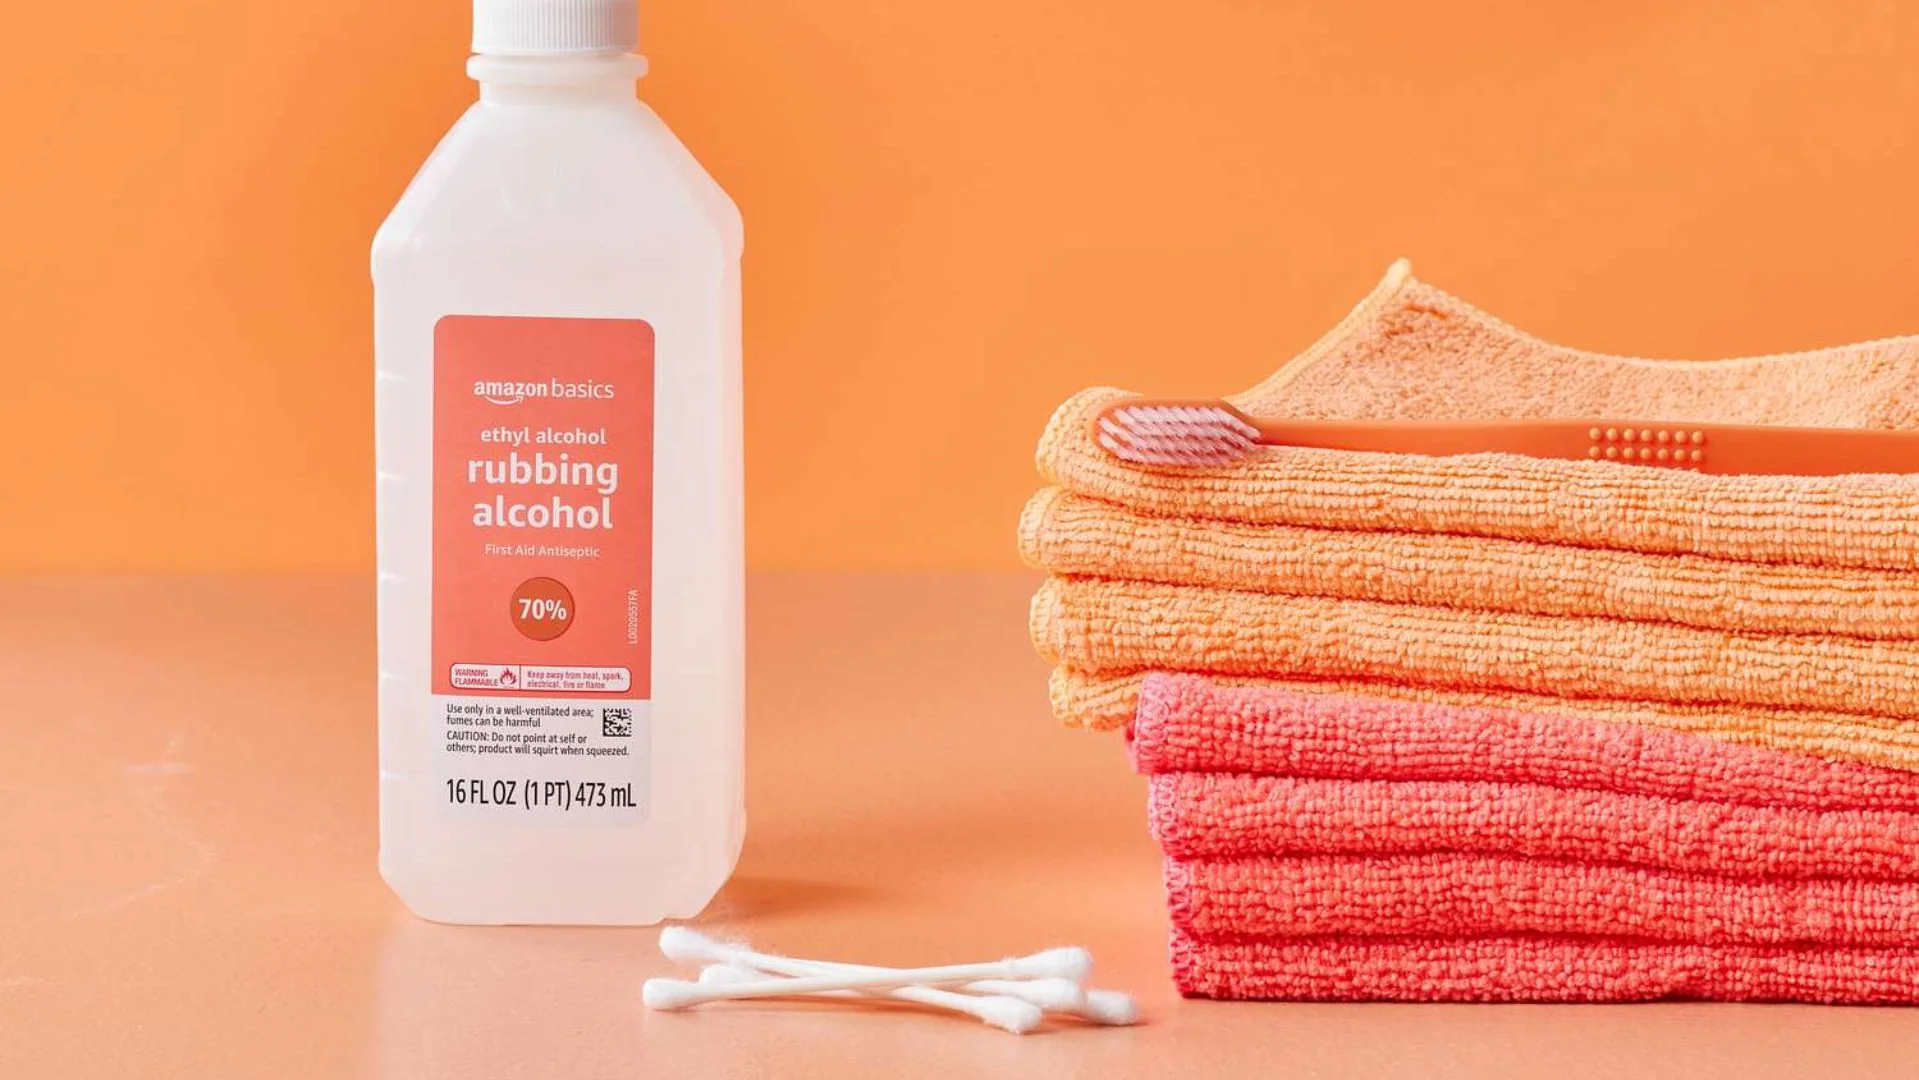
🛒 Buy Isopropyl Rubbing Alcohol on Amazon
FAQ
How long should acrylic paint dry before sealing?
Acrylic paint feels dry to the touch within 20 to 30 minutes, but it isn’t fully cured for 24 to 72 hours depending on how thickly it’s been applied and the humidity in the room. Sealing too early traps moisture underneath and can cause bubbling, cloudiness or peeling later on.
Can you seal acrylic paint on wood without varnish?
Yes. Varnish is the traditional choice but polyacrylic sealer and furniture wax both work as alternatives. Polyacrylic gives a durable, water-based, low-odour finish, while furniture wax gives a softer sheen and is easier to apply by hand, though it offers less protection long term.
How do you remove acrylic paint from wood?
For fresh paint, warm soapy water on a damp cloth is usually enough. For dried paint, isopropyl rubbing alcohol on a cloth, held against the paint for thirty to sixty seconds before rubbing, will generally lift it. For stubborn residue, a gentle sand with fine-grit sandpaper finishes the job. Always test any method on an inconspicuous area first.
Will rubbing alcohol damage wood?
Used carefully, rubbing alcohol is generally safe on sealed or varnished wood, but it can affect some finishes, so always test it on a hidden area first. Avoid pouring it directly onto the wood — apply it to a cloth instead to limit how much liquid actually touches the surface.
Get the sealing step right and you shouldn’t need the removal section at all — but it’s good to know it’s there if you do.